
Creating and Managing Riders
Your riders are crucial members responsible for completing your service tasks or pick-up and drop tasks associated with an order. The Riders application serves as a centralised location where you can view, create, and manage all your riders efficiently. The Team Manager has similar access to create and manage Riders but is limited to the team Manager is part of.
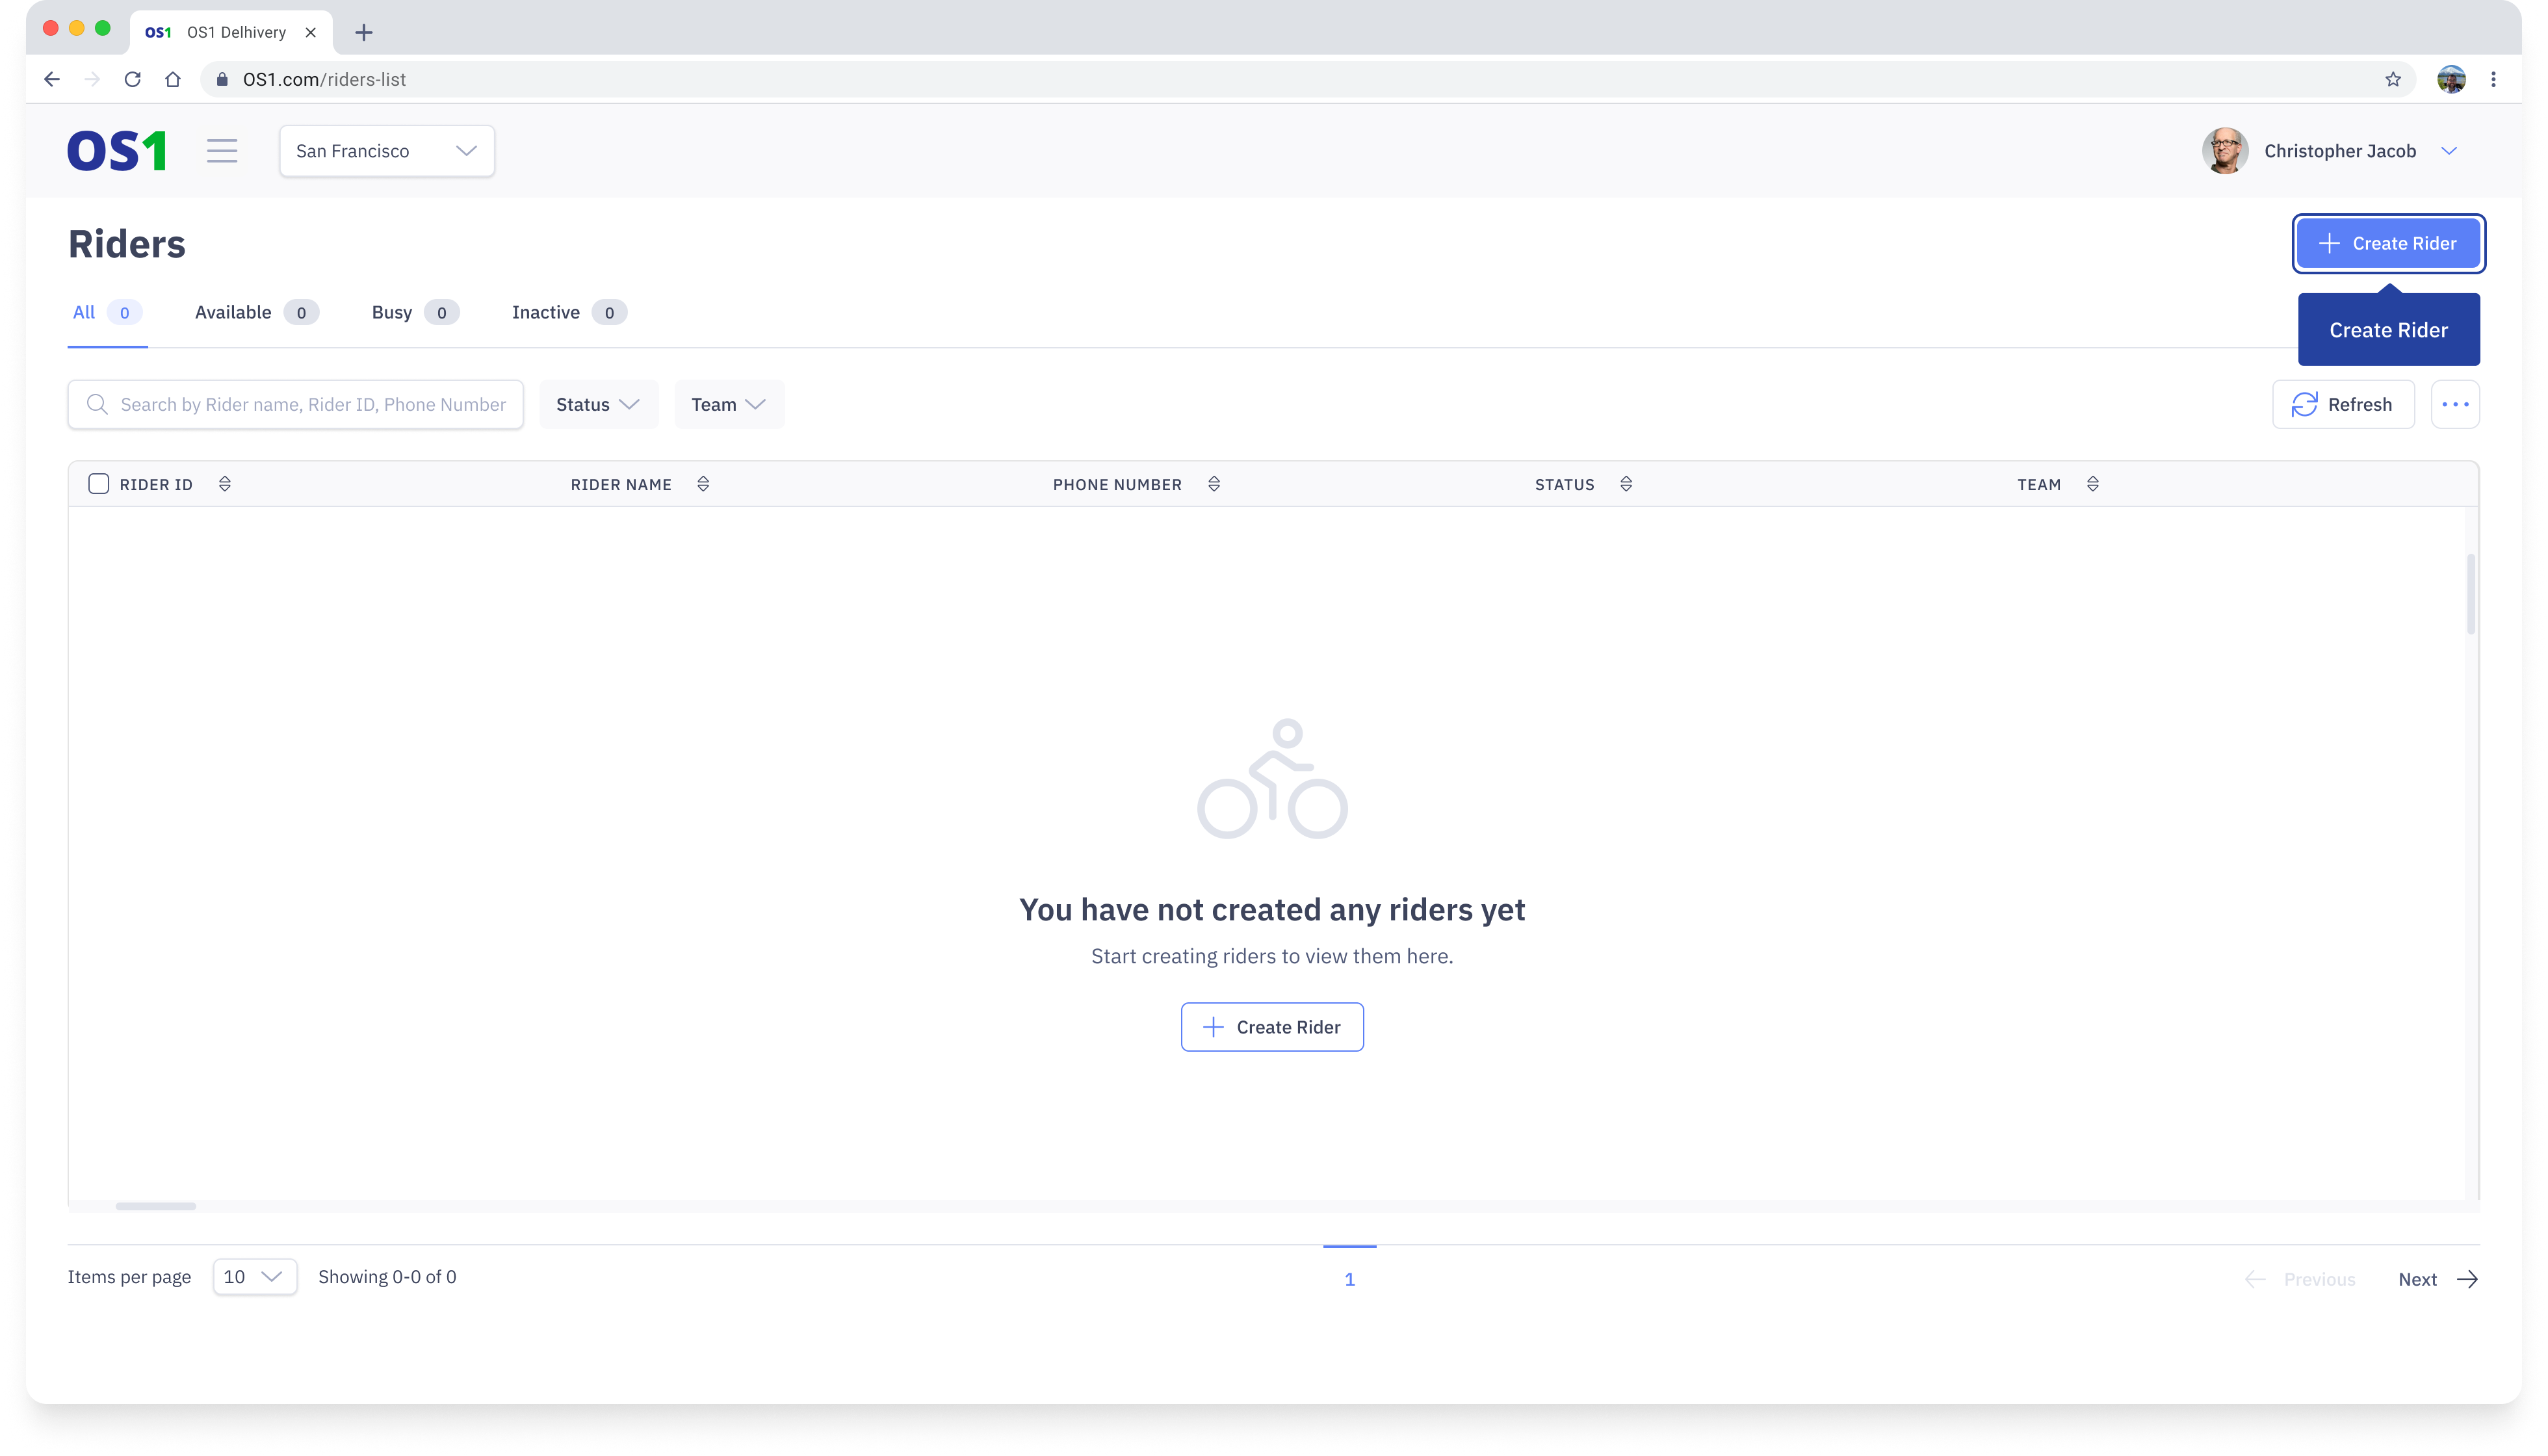
To access the Riders page, simply click on the “Riders” application located in the side navigation menu. Once on the Riders page, you will be able to perform various actions, including:
- Creating new riders using the “Create Rider” button
- Viewing a list of all existing riders in the system
- Editing the information of an existing rider using the “Edit” button
- Searching for a specific rider by their name, ID, or phone number
- Filtering the rider list based on their status or team
- Modifying the columns that you see on the Riders table
- Updating the status of riders using the status update feature
Create Rider
To create a rider on DispatchOne, navigate to the Riders page and click on the "Create Rider" button located in the top right corner of the page. This will take you to the Create Rider, where you need to enter the following information:
- First Name: Enter the Rider's first name
- Last Name: Enter the Rider's last name
- Phone Number: Enter the Rider's phone or mobile number
- Team: Select the team from the dropdown list to which you want to assign the Rider. You can select one or more teams. A Rider will only be available for the dispatches part of the team the rider is tagged to.
- Profile Picture: This is optional. If you have a picture of the Rider, you can upload it in the "Upload Photo" section
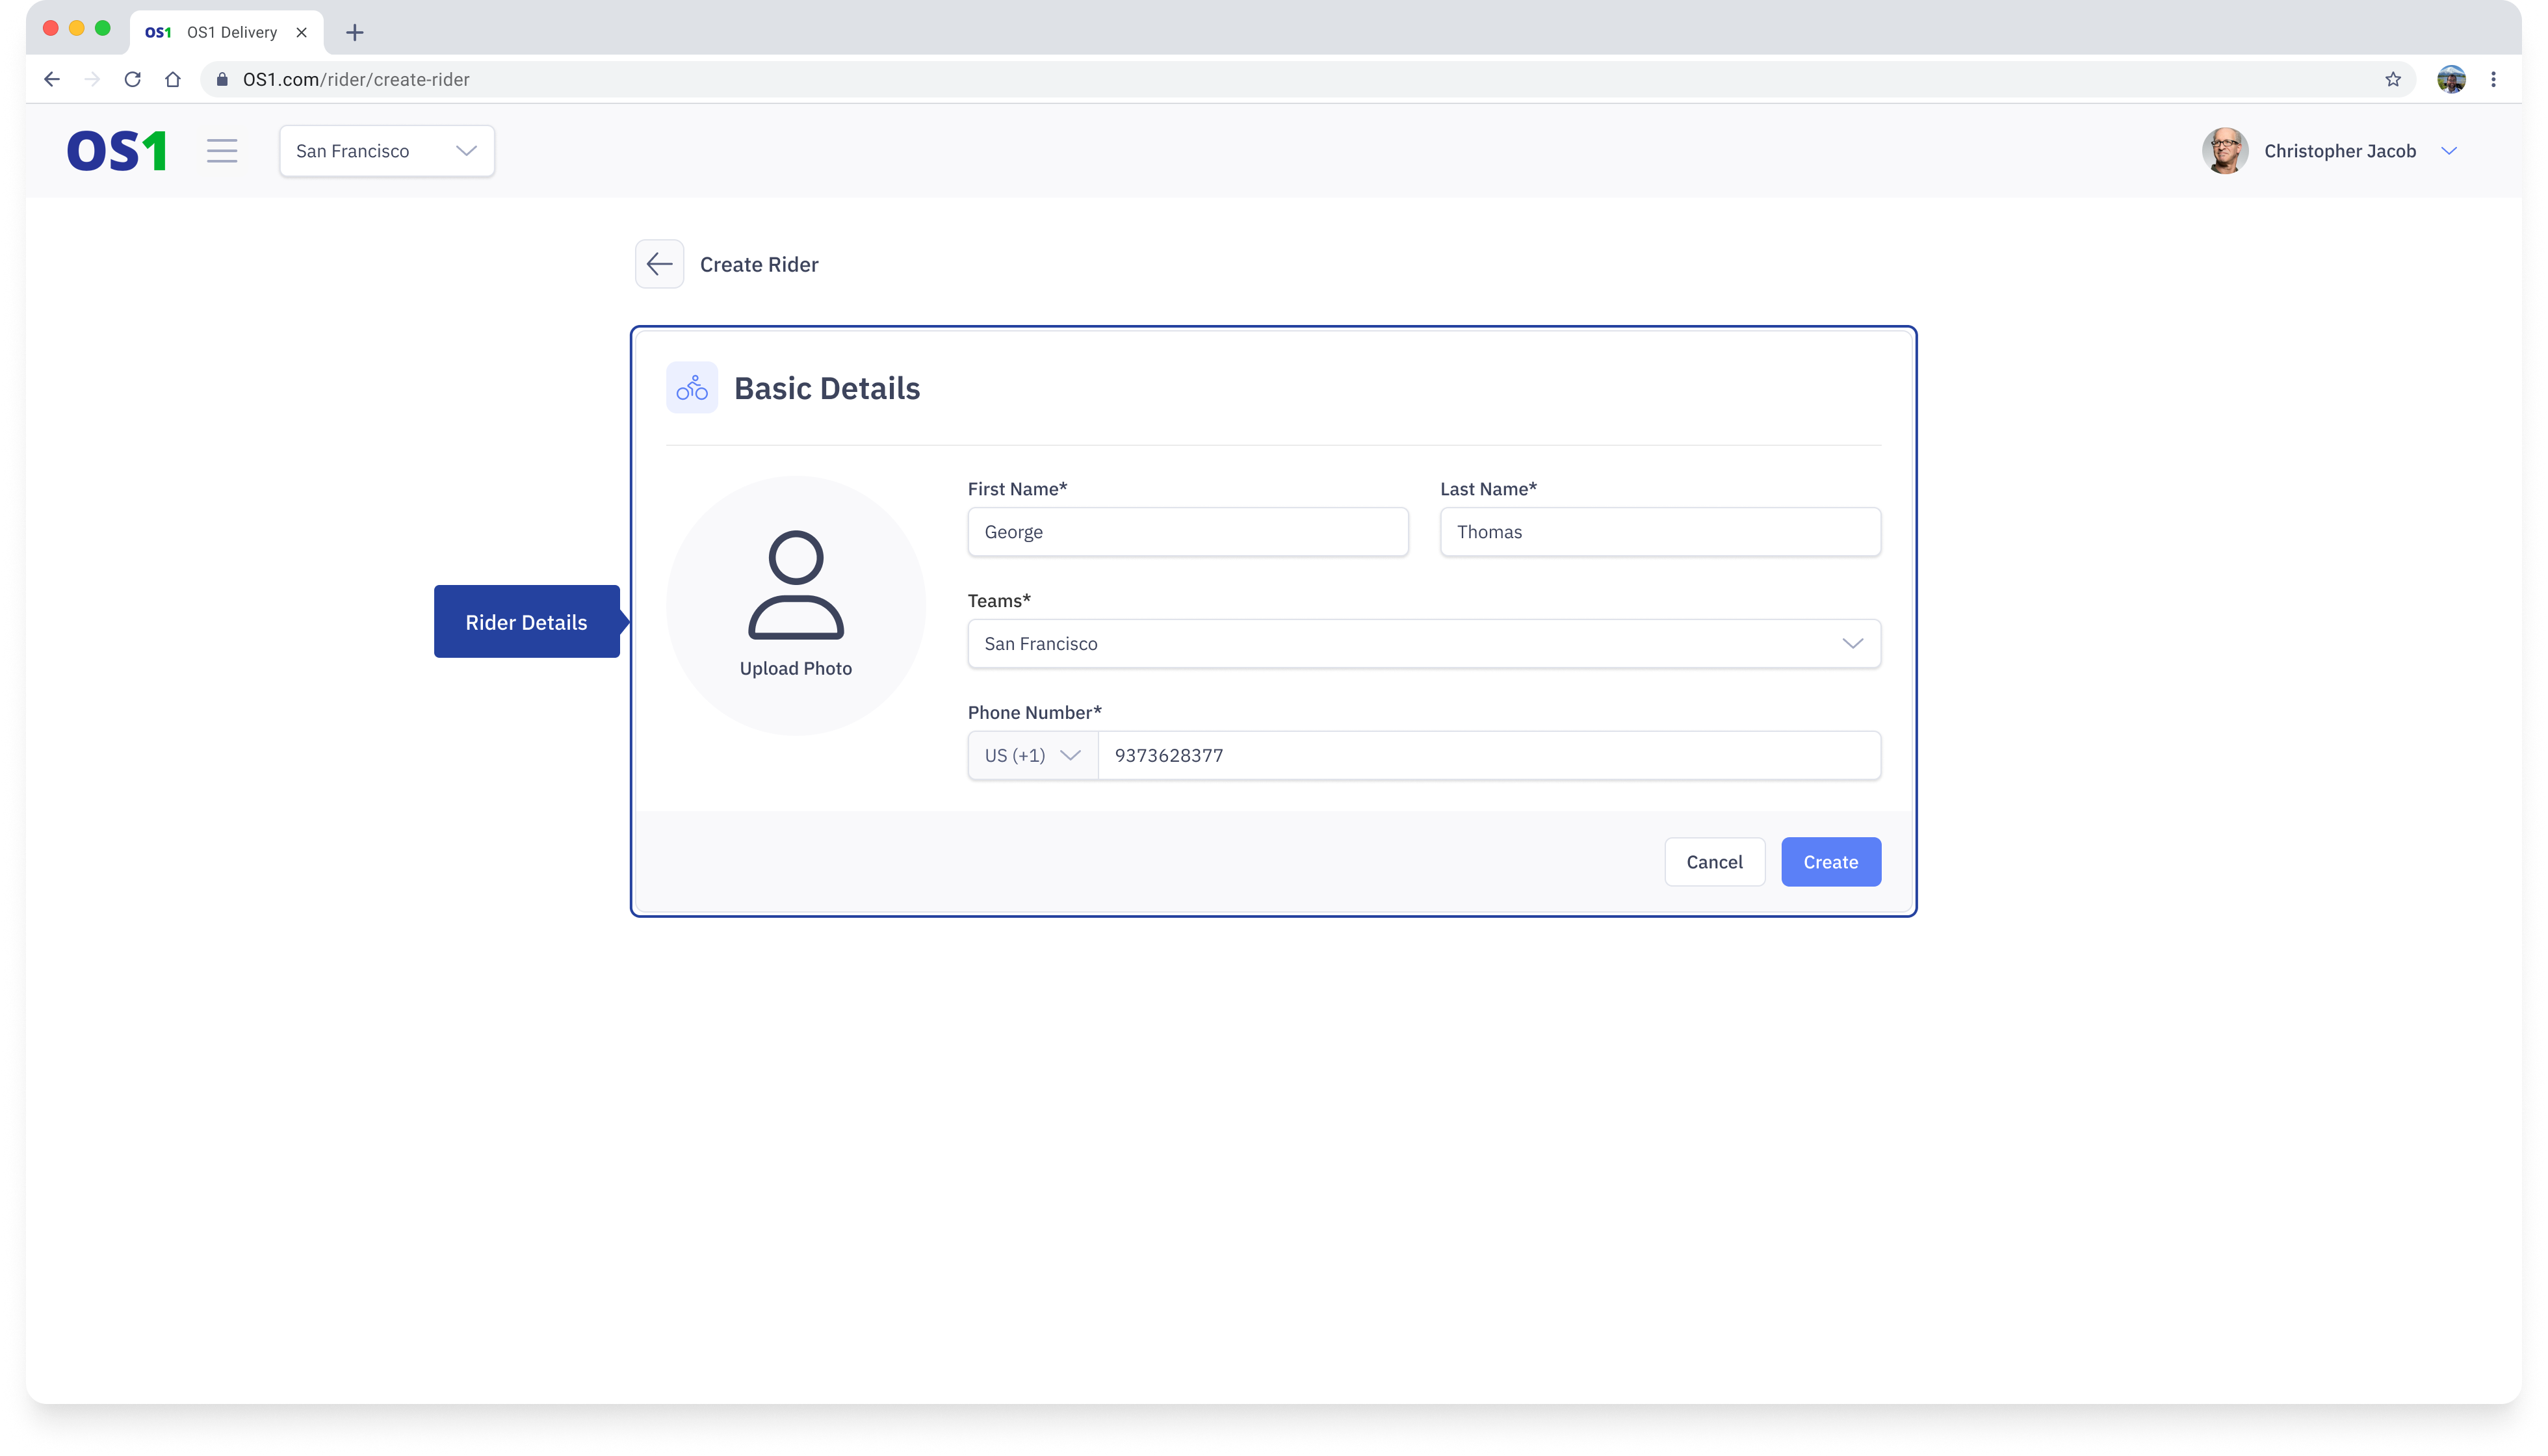
After entering all the required information, you can create the Rider by clicking on the "Create" button.
View Riders
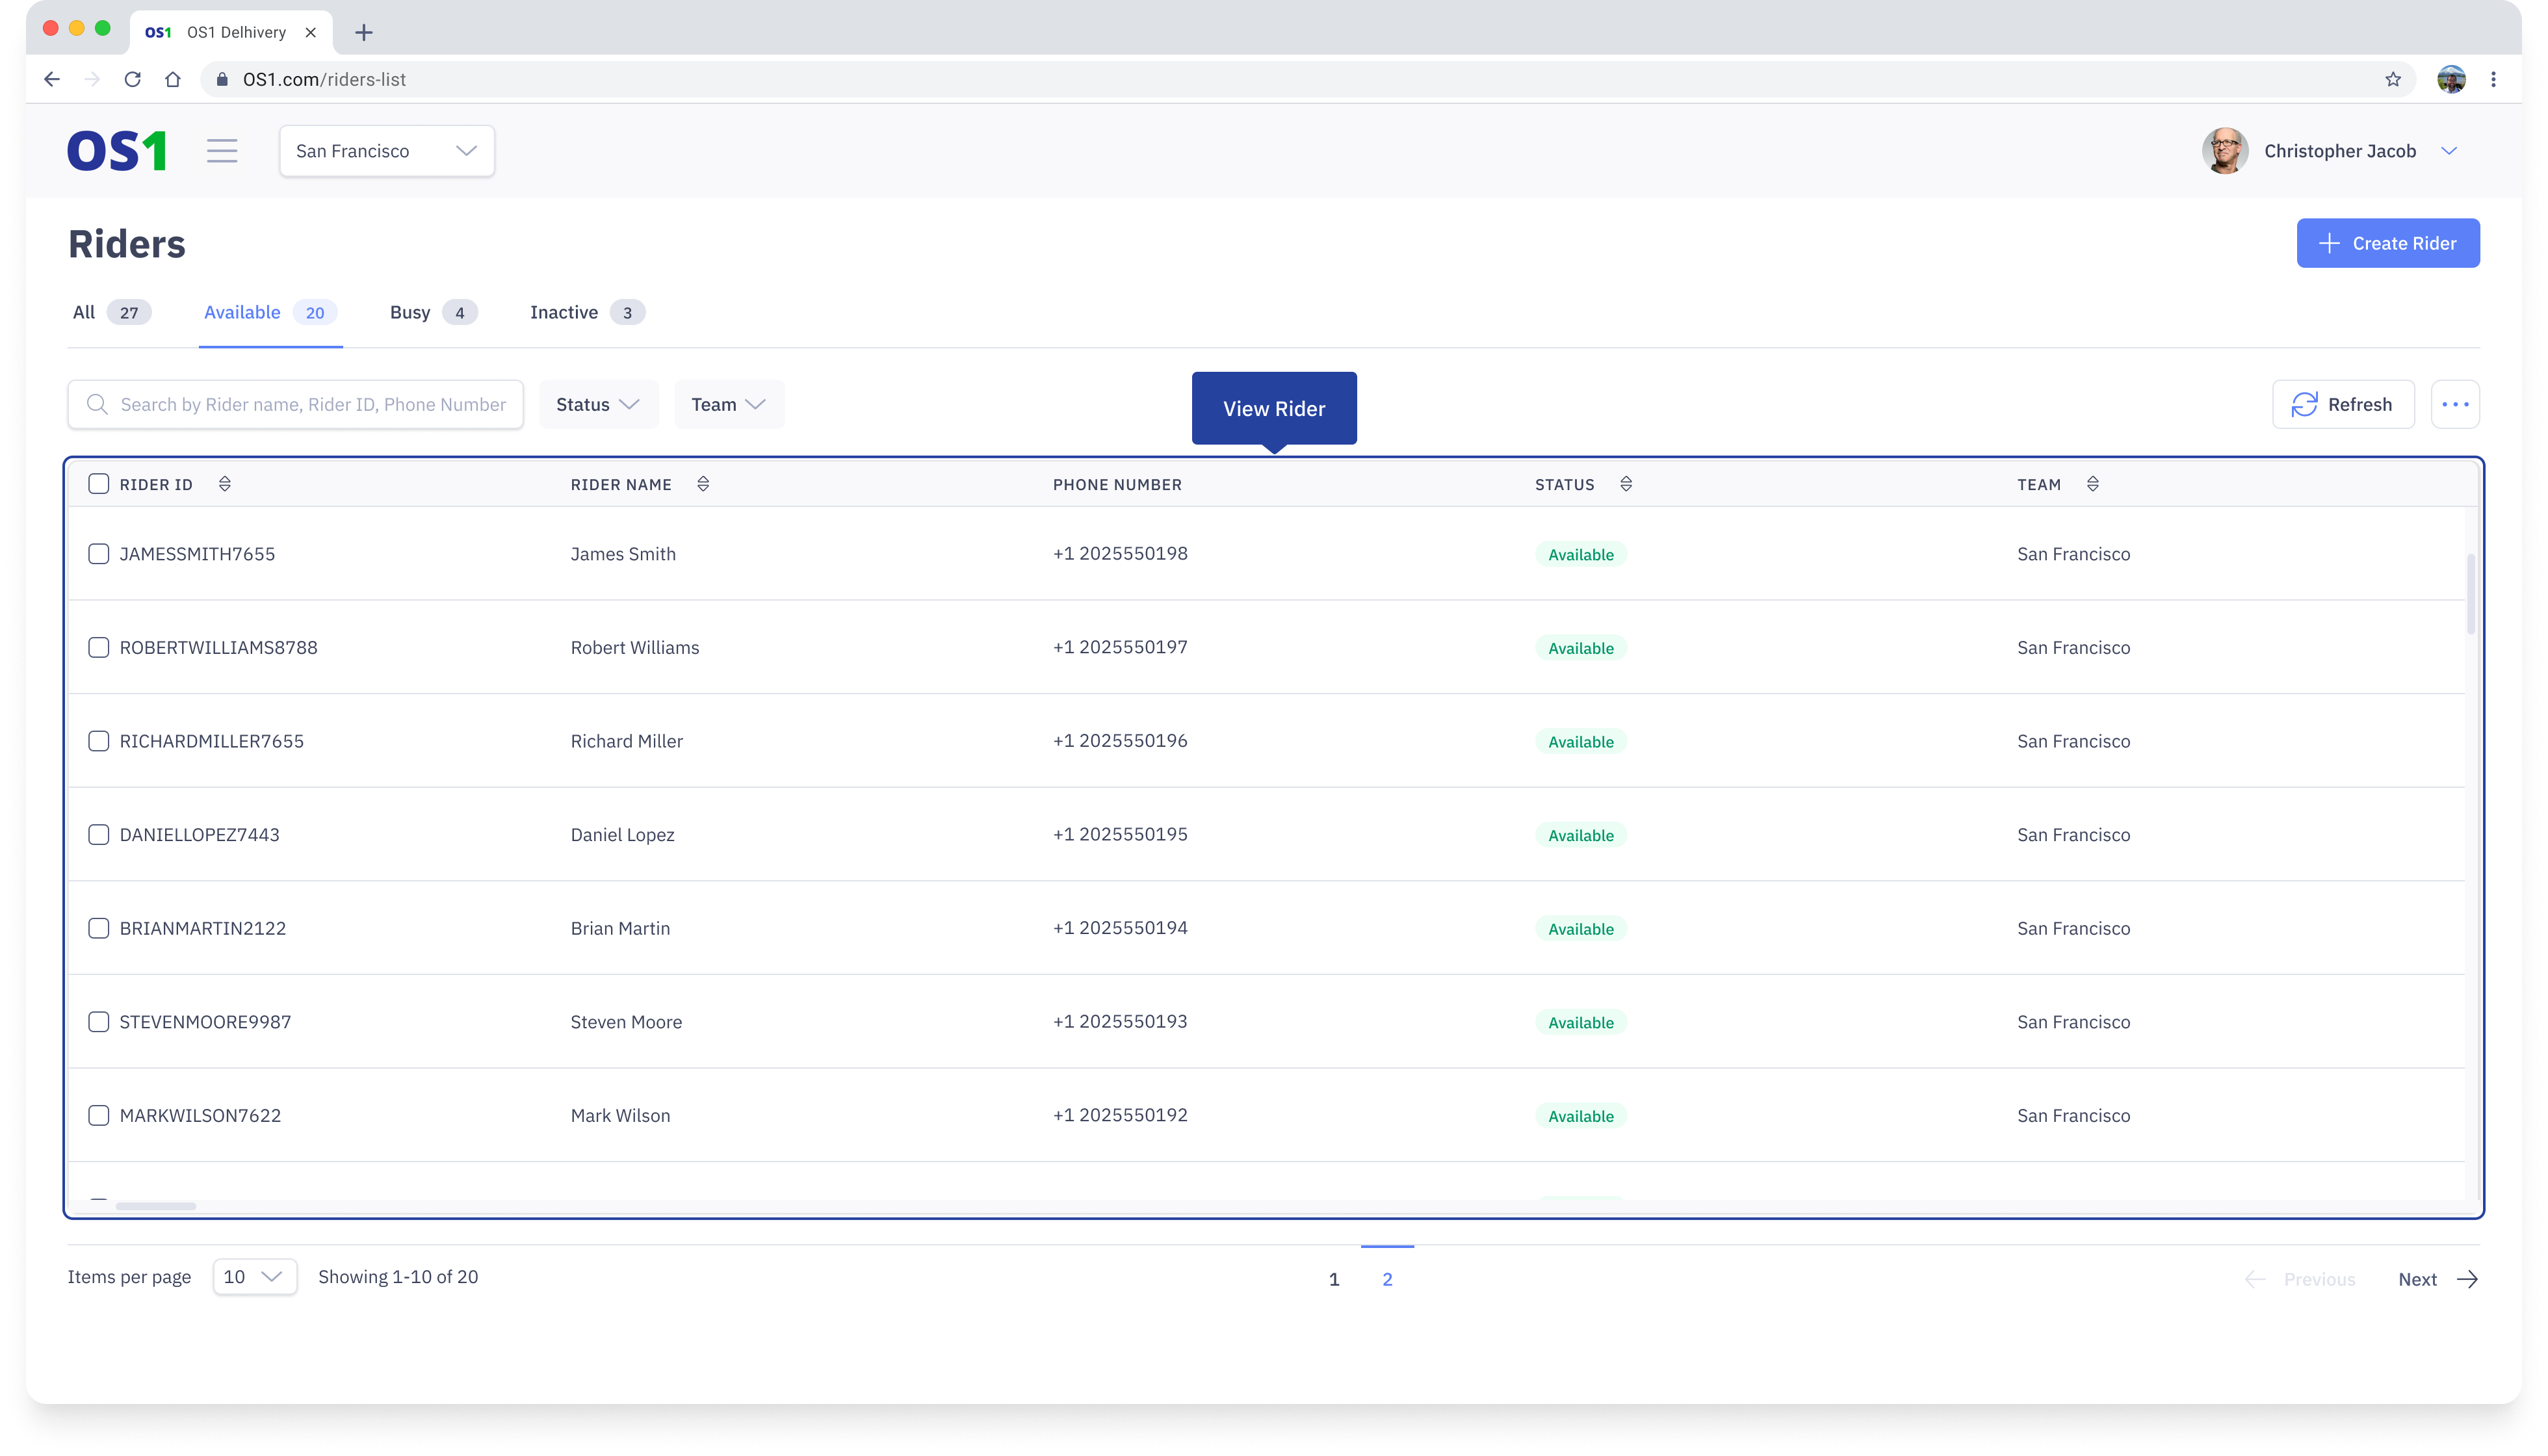
Once you have created a Rider, you can see the list of all the created Riders on the Riders Listing page. You can see the following information about each rider in the table:
- Rider ID: This system-generated ID is created by combining the Rider's First Name, Last Name, and the last four digits of their phone number.
- Rider Name: This column displays the Rider's full name.
- Phone Number: This column shows the last four digits of the Rider's phone number.
- Status: The Rider's status indicates their availability and helps you find a suitable resource for fulfilling your order. There are 4 possible statuses of a rider:
- Onboarding: When a rider is created, the rider is moved to an onboarding state. The rider cannot be used for any dispatches in this state. The Rider has to be moved to the available state
- Available: This status means the Rider is available for assignment
- Busy: This status indicates that the Rider is already assigned to an ongoing task and cannot be used for any other task. As soon as the current task is complete, the status will move back to Available
- Inactive: This status means the Rider is unavailable and cannot be assigned to any task.
- Teams: This column shows the Teams the Rider is associated with
- Created At (hidden by default)
- Updated At (hidden by default)
- Created By (hidden by default)
- Updated By (hidden by default)
Edit Rider
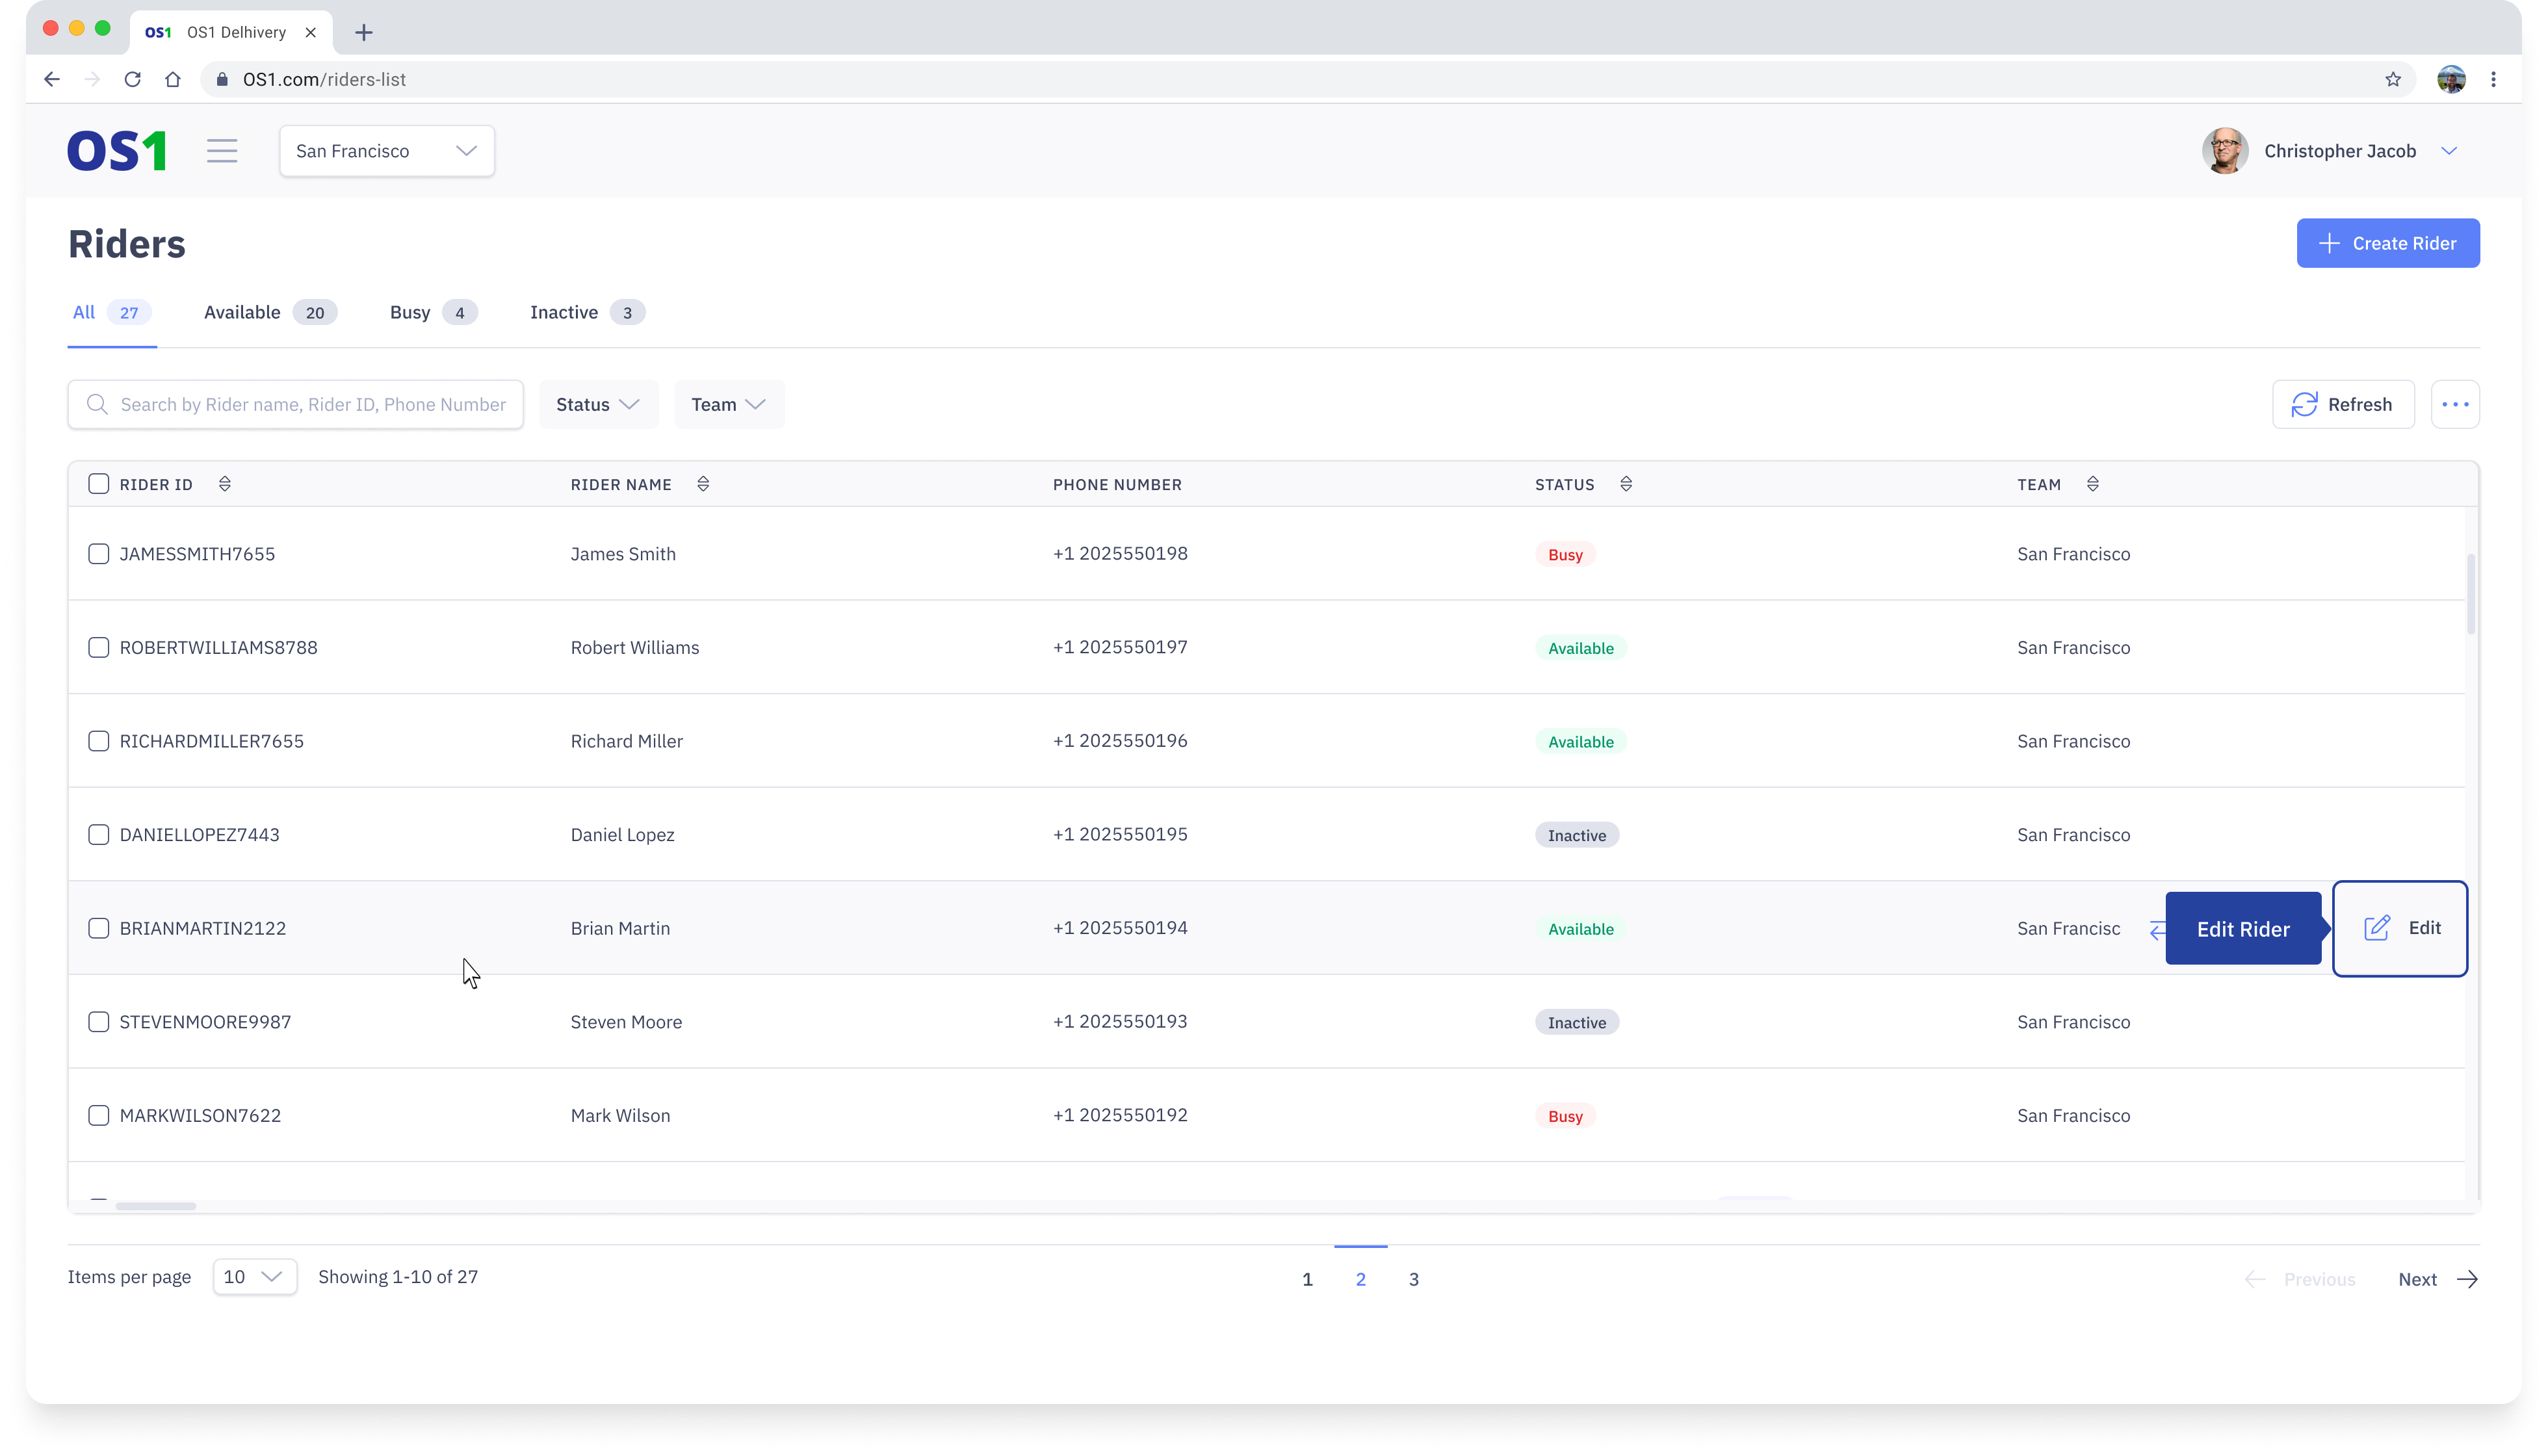
To edit a Rider, navigate to the Riders Listing page. Click on the Edit button located in the last column of the Rider table to access the Edit Rider page.
Once you have updated all the required information click on the Save button in order to update Rider details.
Search Rider
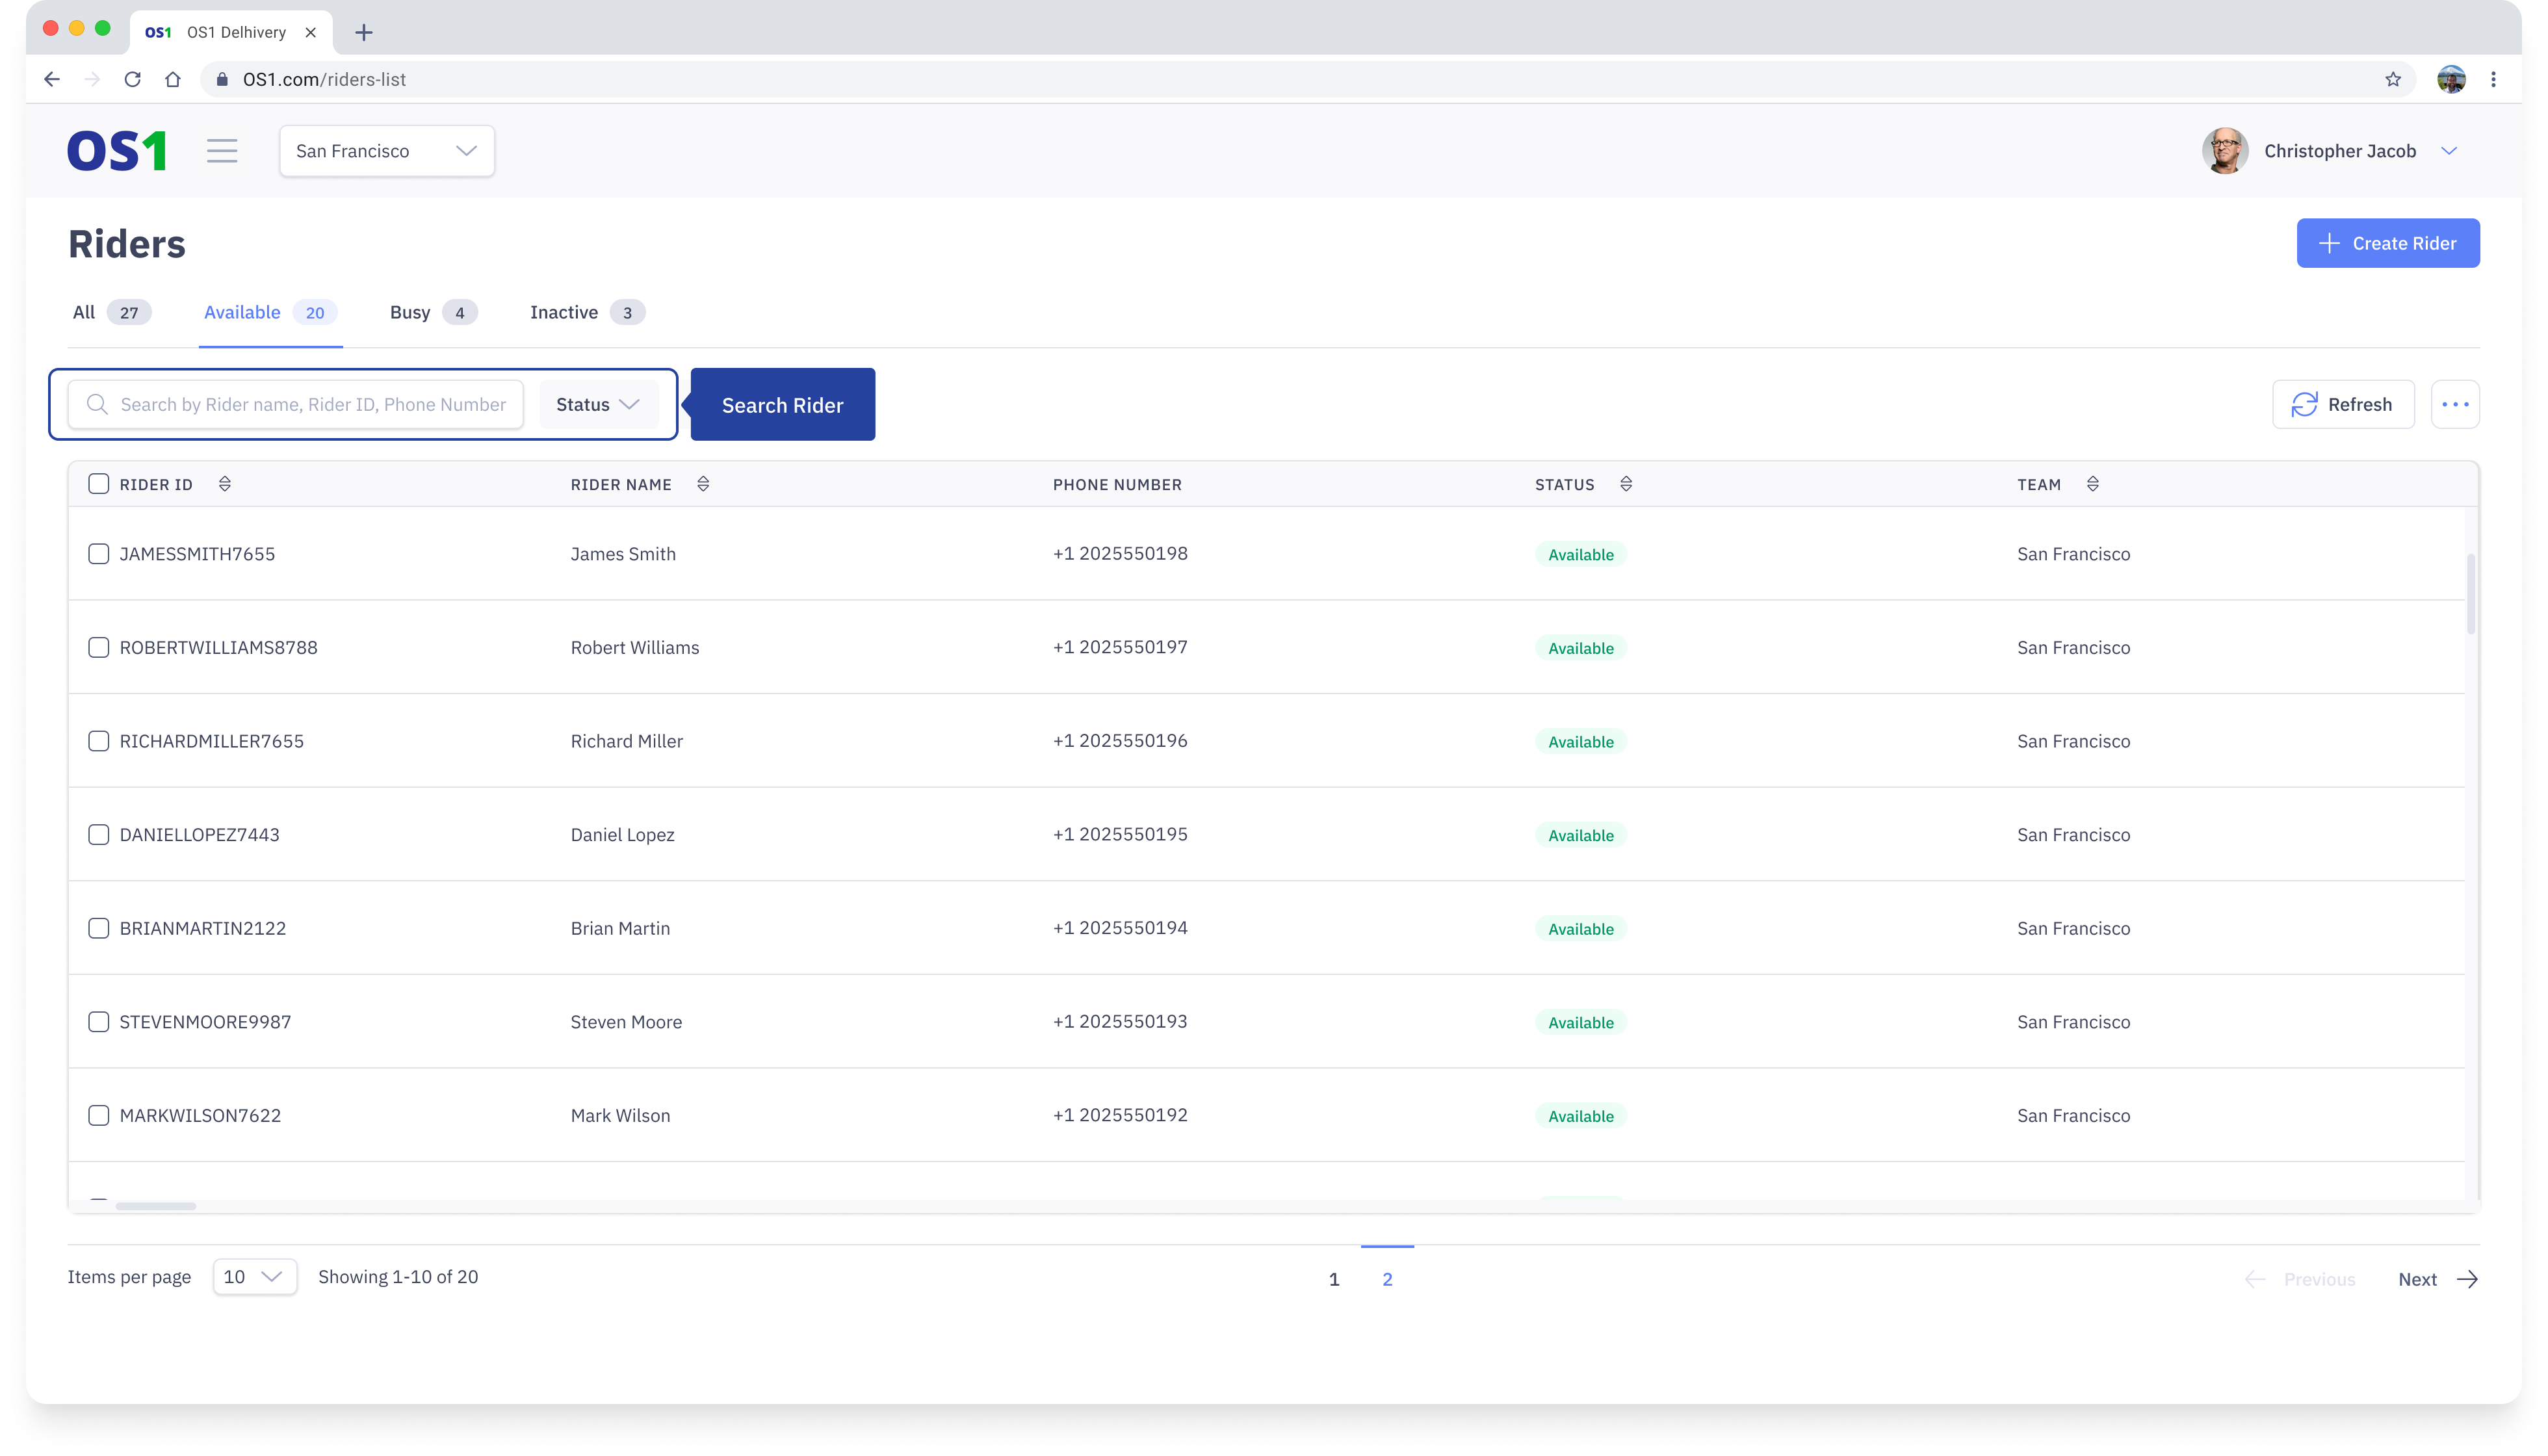
To search for a Rider, enter the Rider ID, Rider Name, or Rider Phone Number in the search bar on the Rider Listing page.
Rider Status Update
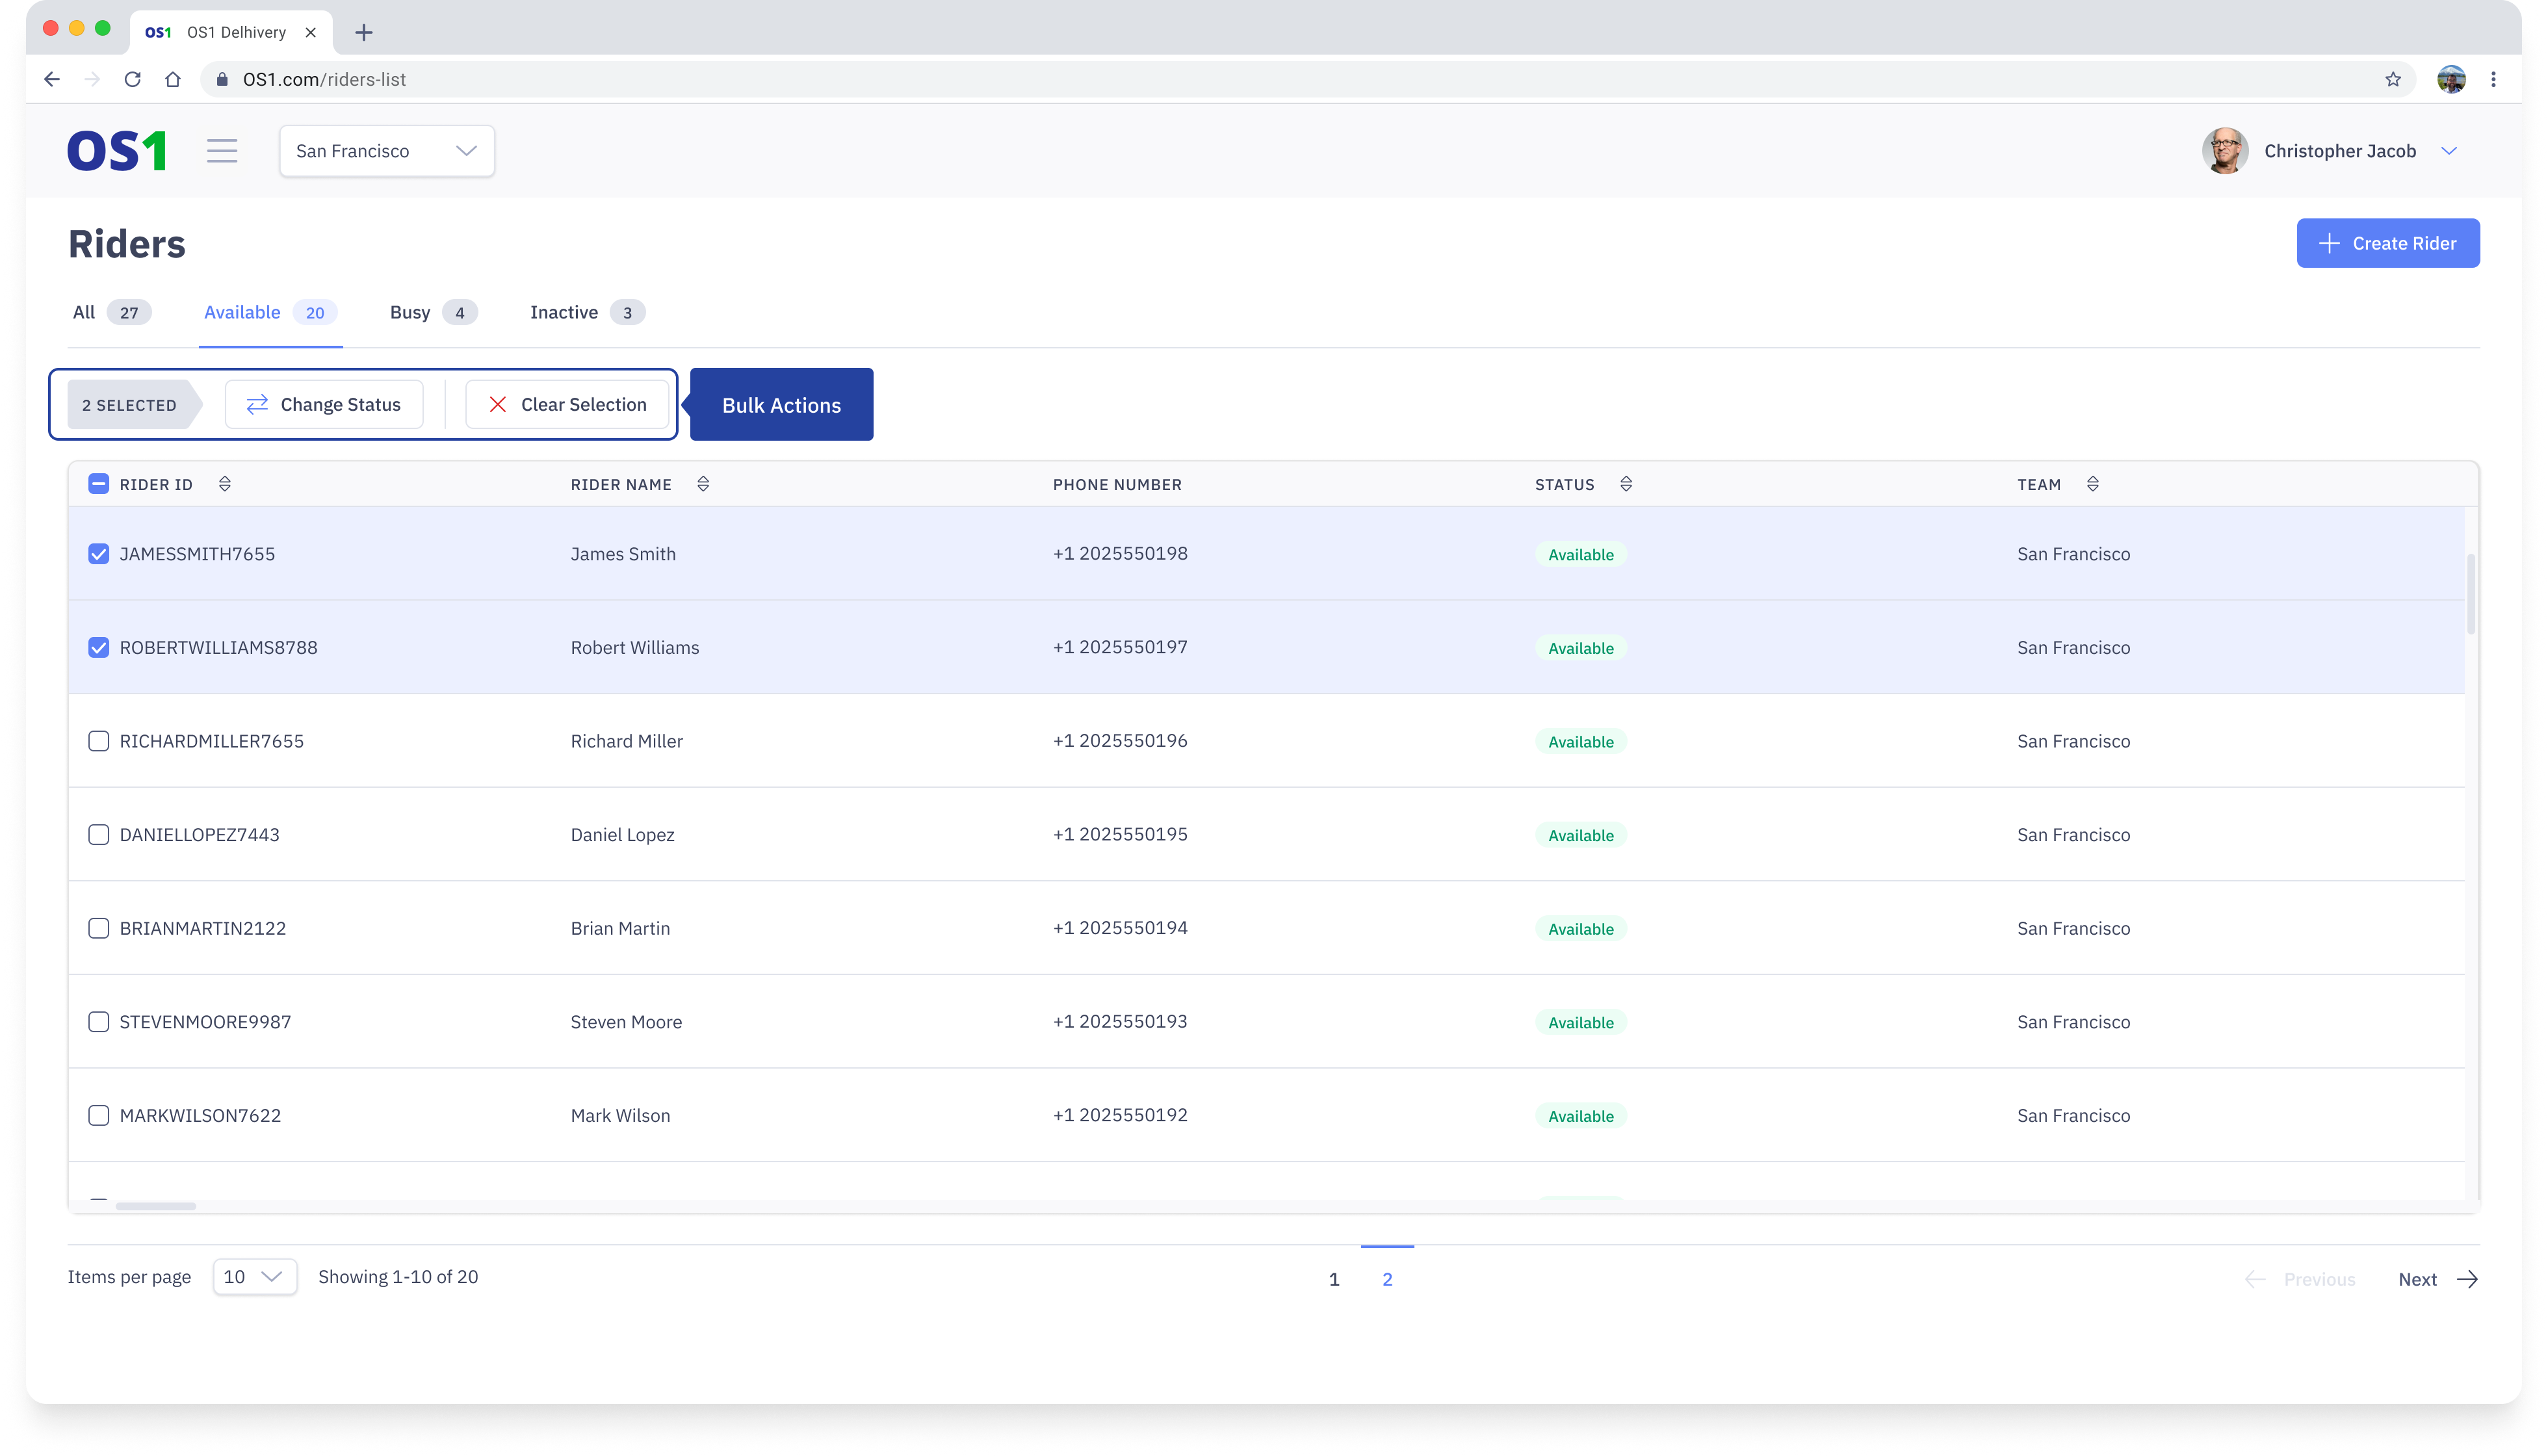
You can also update the status of a single rider or multiple riders from the Rider Listing page. To do this:
- Select the checkboxes next to each Rider ID.
- After selecting the checkboxes, a "Change Status" button will appear above the table. Click on it, and a pop-up will appear, prompting you to select the new status to which you want to update the selected records.
- Once you have selected the new status from the dropdown menu, click on the "Save" button to apply the changes to the selected records.